
Managing & Approving Time Entries
Manage, review, and approve submitted time entries from Manage Time or within a Project.
Table of Contents
- Overview
- Step By Step Guides
- Training Video
- Best Practices
Overview
Time entries can be managed from two areas:
- Manage Time Cards — review across all users and projects [HR view]
- Project Time Cards — review for a specific project [PM View]
Both views support all of the same actions but differ in scope and level of data visibility.
Note: Available actions are controlled by your permissions. If you do not have permission to perform a specific action, the corresponding button or icon may be disabled.
Editing Time Entries
Time entries can be edited from either Manage Time or Project Time before final approval.
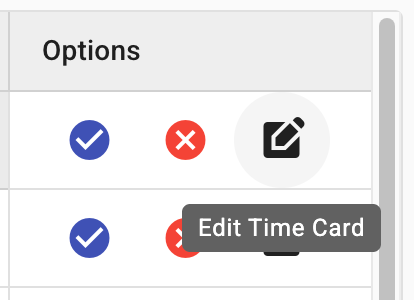
Step-by-Step Guide
- Open the time entry by clicking on the Edit Time Card icon
- Update the required fields
- From here, you have two options:
- Save changes
- Save the current record and close it. This updates the time entry while keeping it in the review process.
- Save & Approve
- Save the current record and approve it in a single step. This is ideal when only minor corrections were required before approval.
- Save changes
Splitting Time Entries
If a time entry is mostly correct but a portion of the time needs to be allocated elsewhere, you can split the entry before approval.
For example, a worker may have submitted 3 hours to Concrete Placement, but 1 of those hours should have been charged to Site Cleanup. Splitting the time card allows you to move the 1 hour to the correct bucket while leaving the remaining 2 hours unchanged.
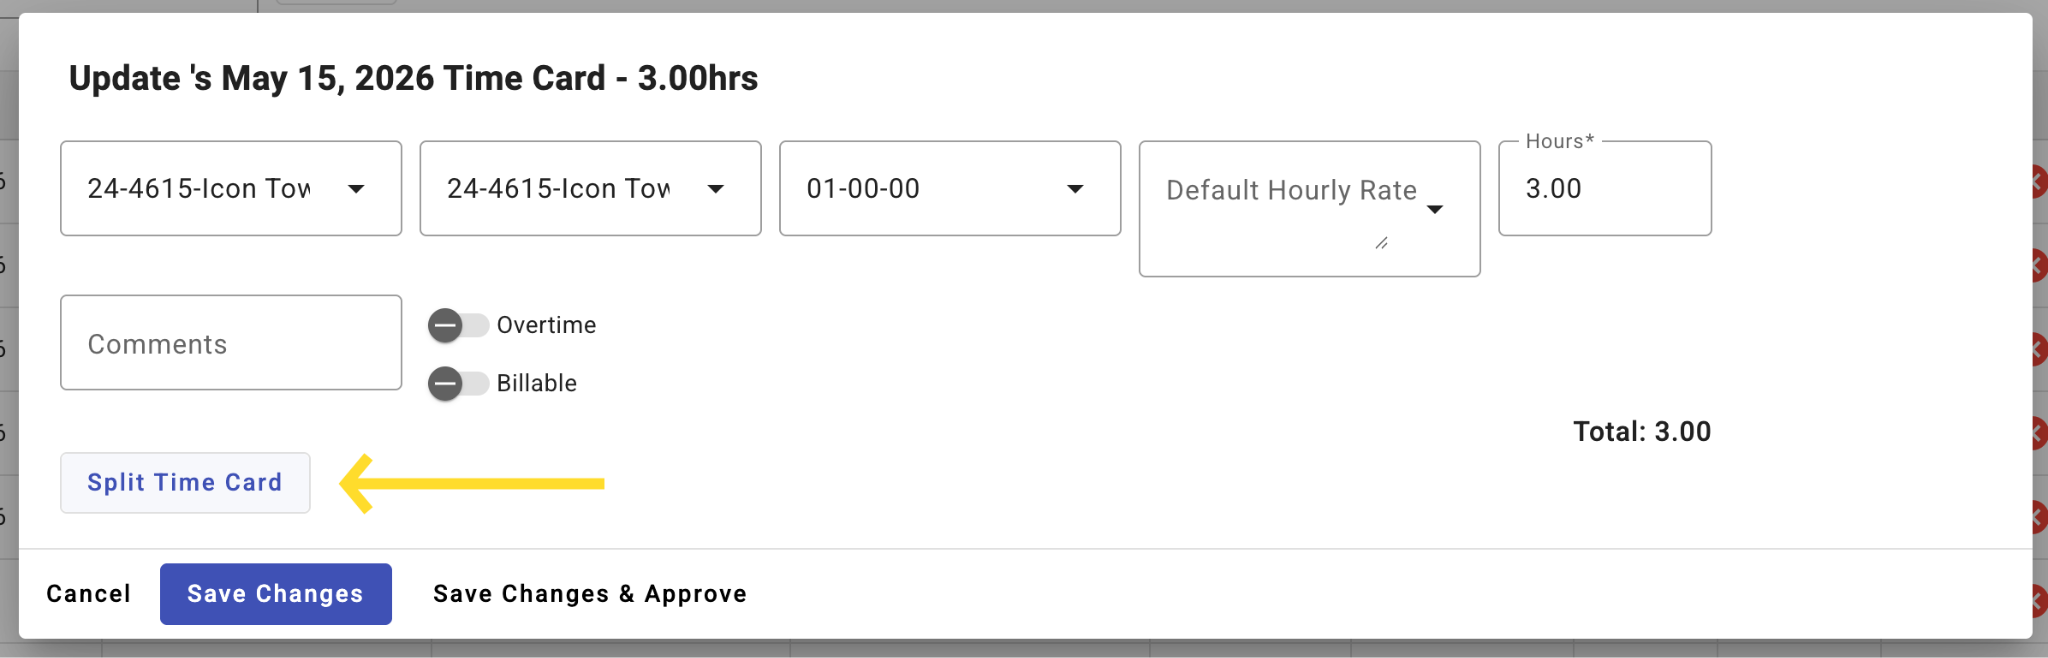
Step-by-Step Guide
- Open the time entry by clicking on the Edit Time Card icon
- Select Split Time Card to add another time entry row
- Adjust the required fields for each entry as needed
- Click Save changes or Save & Approve
Approving Time Entries (Manage Time)
Location: Homepage > Time Cards > Manage Time
Manage Time focuses on broader validation such as payroll and compliance review.
From Manage Time Cards, approvers review time entries across all users and projects.
Step-by-Step Guide
- Open Manage Time Cards
- Filter or search for the entry
- Review the time entry details to ensure they are correct.
- In the Options column, click the green checkmark icon (Approve Time Card).
Can't approve a time entry?
The user may have designated Time Card Approvers assigned. When Time Card Approvers are configured, only individuals assigned to the applicable approver role within the project can approve that user's time entries.
Approving Time Entries (Project Time)
Location: Project Home > Financials > Budget Manager > Time Cards
Project Time Cards also display hourly rate information to support cost-aware decision-making.
From Project Time Cards, Project Managers review entries within their assigned project(s).
Step-by-Step Guide
- Navigate to the relevant Project
- Open the Time Cards section within Financials > Budget Manager
- Locate the time entry
- Review the time entry details to ensure they are correct.
- In the Options column, click the green checkmark icon (Approve Time Card).
Rejecting Time Entries
Time entries can be rejected from either Manage Time or Project Time Cards.
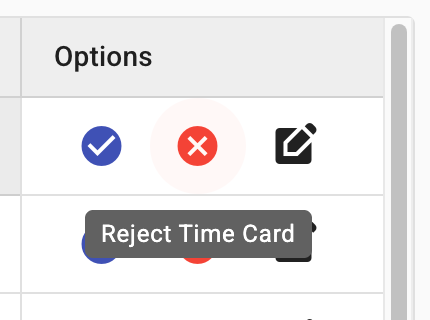
Step-by-Step Guide
- Locate the time entry
- In the Options column, click the red X icon (Reject Time Card).
- In the Manager's Notes window, enter a reason for the rejection.
- Click Reject Entry.
Rejected entries are returned to the user for correction and resubmission, with an email notification sent prompting them to review and resubmit.
Training Video
🚧 Coming Soon: This content is in progress and will be updated soon.
Best Practices
- Review entries carefully before approving or editing
- Use filters to streamline review workflows
- Add rejection comments when clarification is needed
- Ensure consistent approval practices to avoid delays
- Verify cost context when reviewing Project Time entries
Still Need Help?
Not to worry! If you’re having trouble completing these steps or something isn’t working as expected, reach out to our support team at support@buildend.com ✌️